Below are simple, concise instructions for users new to www.union.edu. There is more you can do, but you will need to master these skills first.
The weekly training sessions conducted via Zoom are a great way to build upon what you'll learn here. Please attend as many sessions per term as you are able to fit into your schedule.
SCROLL DOWN FOR VIDEO INSTRUCTIONS
Getting access
To request access to a www.union.edu website, contact tdcms@union.edu.
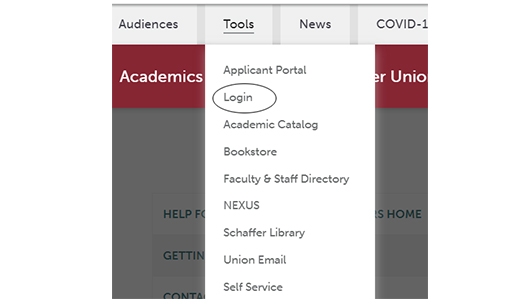
Logging in

Select "Tools" in the gray menu near the top of the page. Click on "Log-in," and you will be taken to a screen to enter your Union credentials (Union account username and password).
Some editing basics
Editing content in the "body section"
Once logged in, make your way to the page you need to update. Once there, click "Page Actions" in the long black border at the top. Click "edit."

-OR- click "edit" at the bottom of the page.

Make sure the "Content Sections" tab is selected.

"Body section" is the most common "Content Section." The copy you will need to revise will likely be found here. Clicking the "body section" edit button will give you access to the text you need to edit.

Once you have finished making your edits, scroll down and click the blue "save" button. If the publish box is not checked the page will not be publically visible. A pink background indicates an "unpublished" page.

Using the tools (WYSIWYG) menu
For those familiar with Microsoft Word, some of the icons in the toolbar/WYSIWYG menu should be familiar:

A word of caution: Arbitrary text embellishments do little to make your site more effective. Stick to the keep it simple design principle. Visitors to your website will thank you and it will make your life easier as well.
To make text bold, select the text and click the "B:"

To make text italic, select the text and click the "I:"

Note: Italic copy can be difficult to read, especially for the visually impaired. Please use this style sparingly.
To create a bulleted (unordered) list:
To align text (justify, left, center, right):

To create a link:
