Microsoft products are well-known for their accessibility features, and Word is no exception.
Remember, it is easier to incorporate accessibility into your document at the beginning of the process than at the end!
Microsoft products are well-known for their accessibility features, and Word is no exception.
Remember, it is easier to incorporate accessibility into your document at the beginning of the process than at the end!
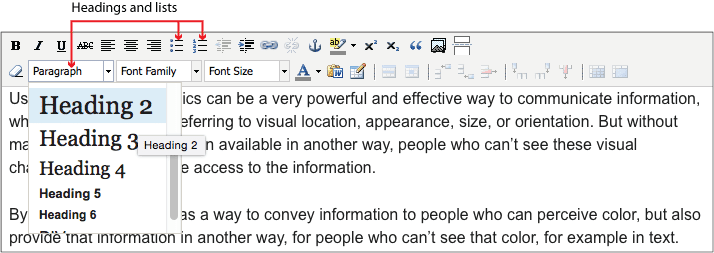
As you create your document, use the following elements to establish a strong structure:
You can find these options in the ribbon at the top of your Word document. They are also accessible through keyboard shortcuts.
As you write, keep the following in mind:
Microsoft’s Accessibility Checker will review documents for everything from document structure to layout to color contrast. It also guides users through recommended actions. The Accessibility Checker is a free tool available in Word, Excel, Outlook, OneNote, and PowerPoint on Windows, Office for the web, or Mac, and Visio on Windows.

The Accessibility Checker verifies your file against a set of rules that identify possible issues for people who have disabilities.
Ensure that your accessibility efforts make their way to your PDF! Use File > Export > Download as PDF to preserve accessible markup. Read more about why this is important.